Skip to main content What is Dynamics 365? Guided tours Customer stories Try our products Build your own agents CRM ERP Sales Service Sales Customer Insights Customer Service Contact Center Field Service Supply Chain Management Commerce Finance Project Operations Human Resources Business Central Pricing Business application topics Training & certifications Documentation Migrate to the cloud Private equity Migrate to Dynamics 365 Events Dynamics 365 Blog Product updates Onboarding and implementation Community Find a partner Software Development Companies Partner resources Microsoft Marketplace Product documentation Technical support On-premises product support Contact us Try for free Sign in
1 min read

NAV 2009 Tips and Tricks: Customize the Navigation Pane


You can add and delete buttons and lists in the Navigation Pane.
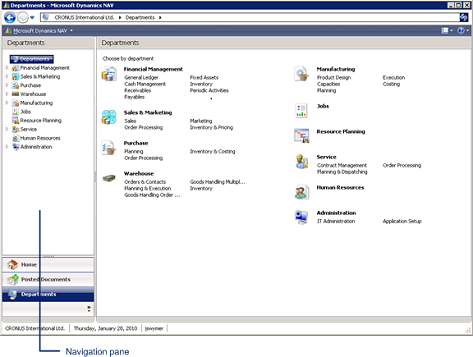
1.  In the top right corner of the Role Center, click Customize button.

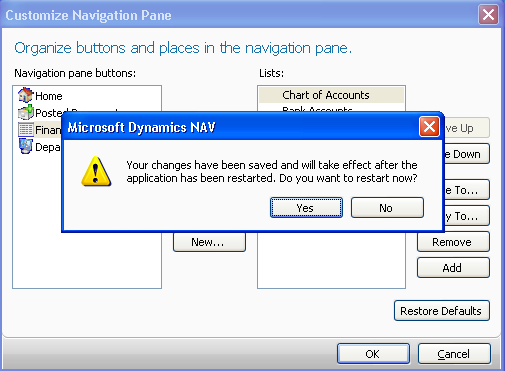
2.  Click Customize Navigation Pane.
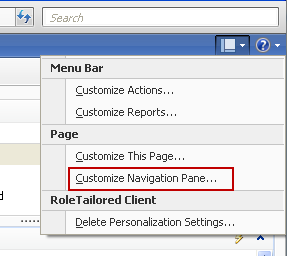
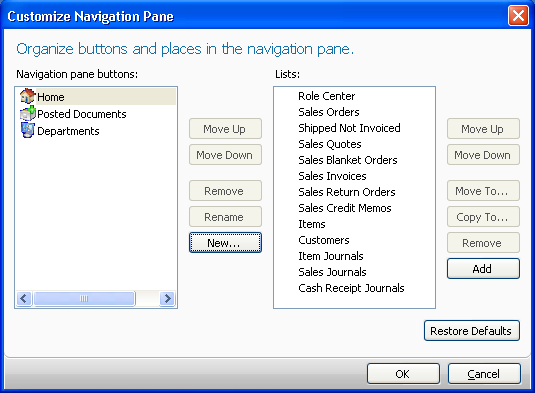
3.  In the Customize Navigation Pane window, click New to create a new button.
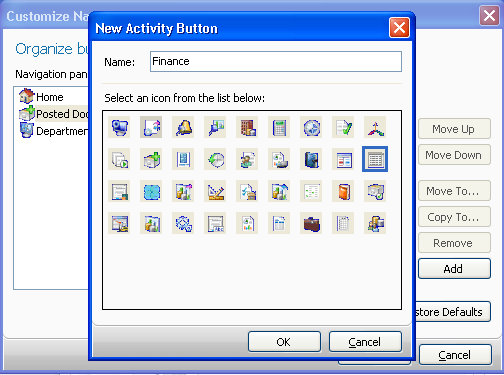
4.  Type a name for the new button.

5.  Choose an icon.

6.  Click OK.
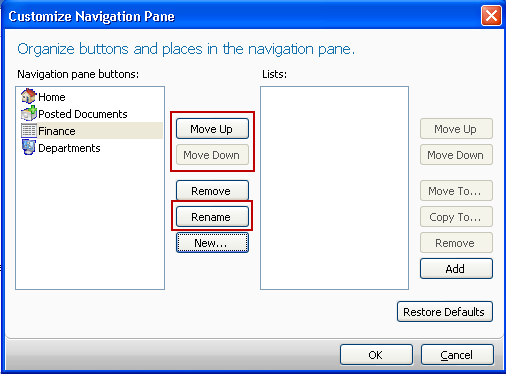
7.  Use Move Up, Move Down, and Rename to edit the position and name of the new button.
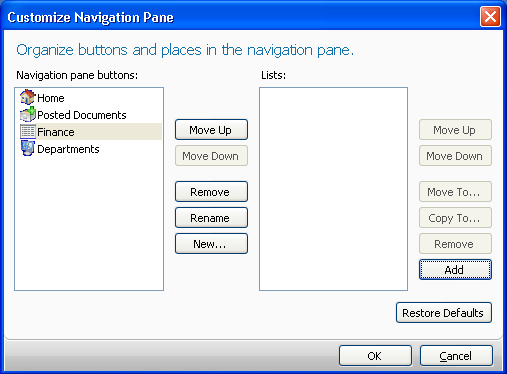
8.  Click Add to add new lists.
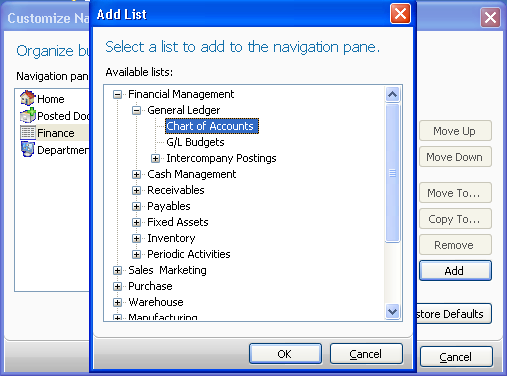
9.  Browse to the list you want to add.

10.  Click OK.

11.  Repeat steps 8 through 10 for all the lists you want to add.
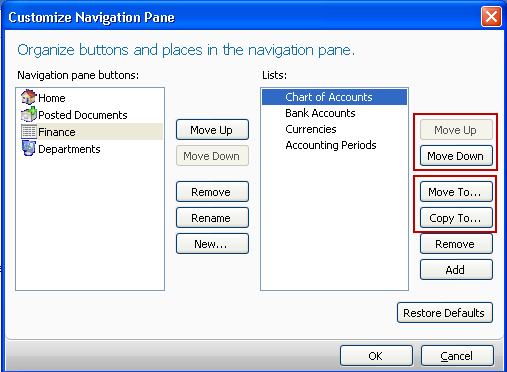
12.  Use Move Up and Move Down to edit the position of the lists.

13.  Use Move To and Copy To to move lists from one navigation pane button to another.
14.  Click OK.

15.  Click Yes to restart the Role Tailored Client.
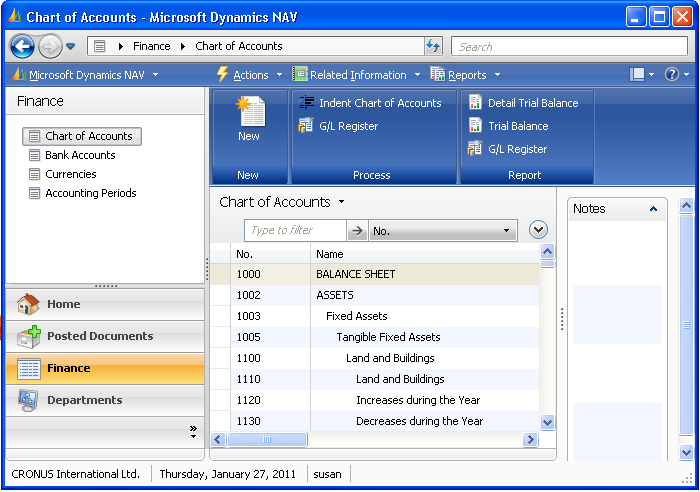
After restart, the changes will be applied to the Navigation Pane.
Get started with Dynamics 365

Drive more efficiency, reduce costs, and create a hyperconnected business that links people, data, and processes across your organization—enabling every team to quickly adapt and innovate.